A step-by-step walkthrough of your online home survey
This guide provides a screen-by-screen preview of the online home survey, with examples of the questions you’ll be asked and the photographs you’ll need to provide. It is for guidance only and the questions shown may vary depending on your property and previous answers, so you may not be asked every question included below.
Whether you’re purchasing an Ohme charger independently or applying through a scheme, you must complete the actual survey using the unique link sent to you by Ohme.
The survey is divided into three sections — Your Home, Your Energy and Your Installation — with your progress displayed at the top of each screen.
Jump to:
Your Home
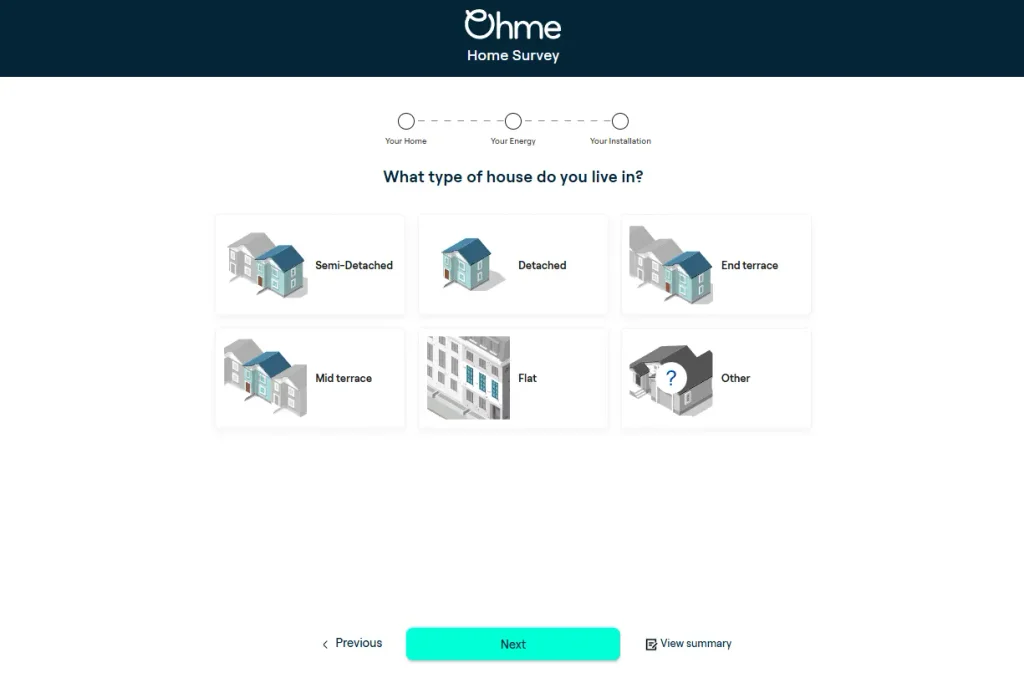
What type of house do you live in?
Choose the option that best matches your property, semi-detached, detached, end terrace, mid terrace, flat, or other. This helps us picture your home before we get into the details.
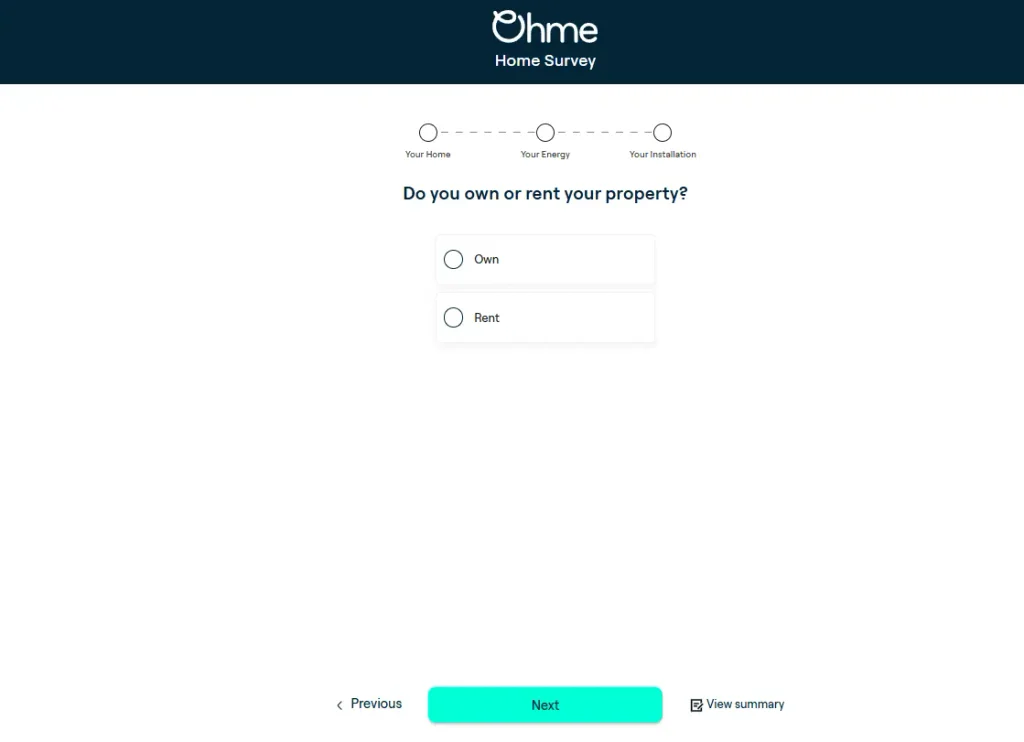
Do you own or rent your property?
If you rent, you may need permission from your landlord before installation can go ahead, we’ll let you know if that applies to you.
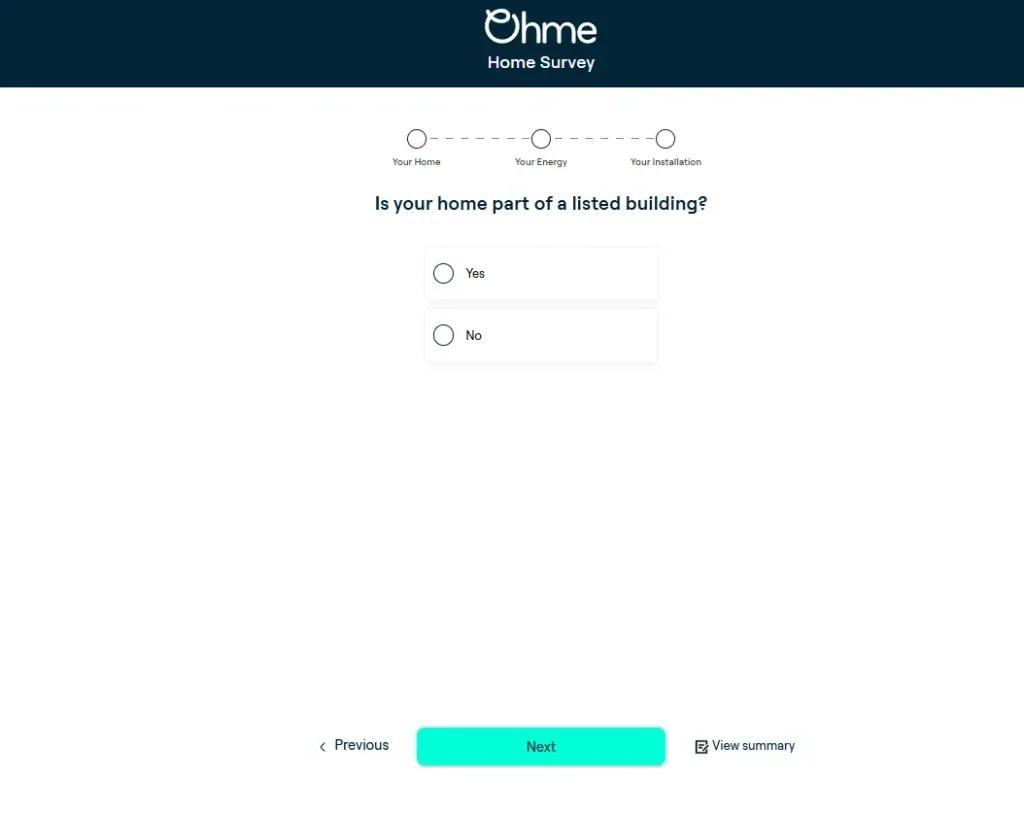
Is your home part of a listed building?
Listed buildings can come with planning restrictions that affect where a charger can be fitted, so it’s worth checking this before you go any further.
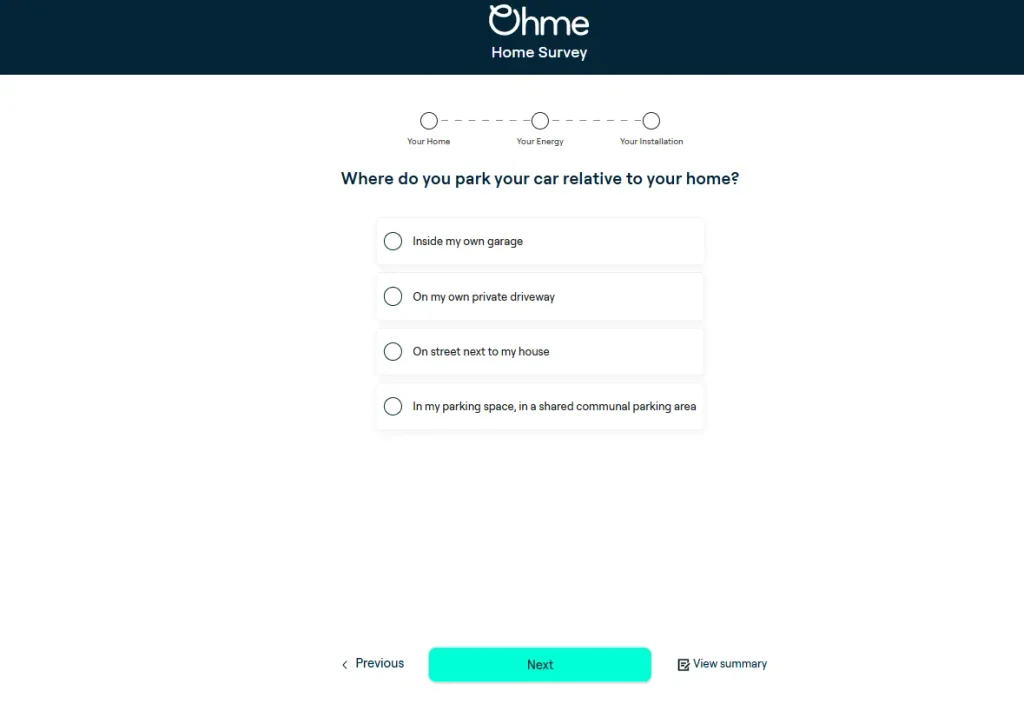
Where do you park your car relative to your home?
Select whichever is closes, inside your own garage, on your own driveway, on the street, or in a shared communal parking area. This tells us how far the cable will need to travel.
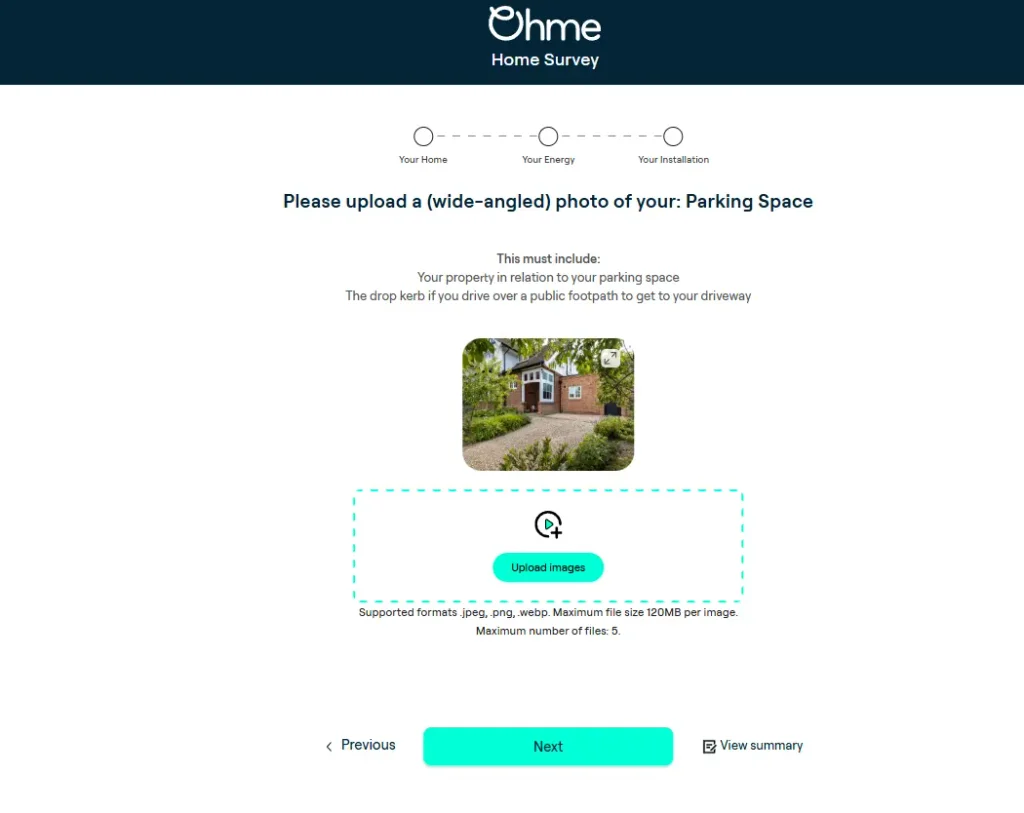
Upload a photo of your parking space
Take a wide-angled photo that shows your property in relation to your parking space. If you drive over a public footpath to reach your driveway, make sure the drop kerb is visible too.
Tip: stand back far enough to capture the whole space in one shot, the example photo shown on-screen is a good guide for framing.
Your Energy
This is the technical part, a few photos of your electrics so our installers can assess the job before they arrive.
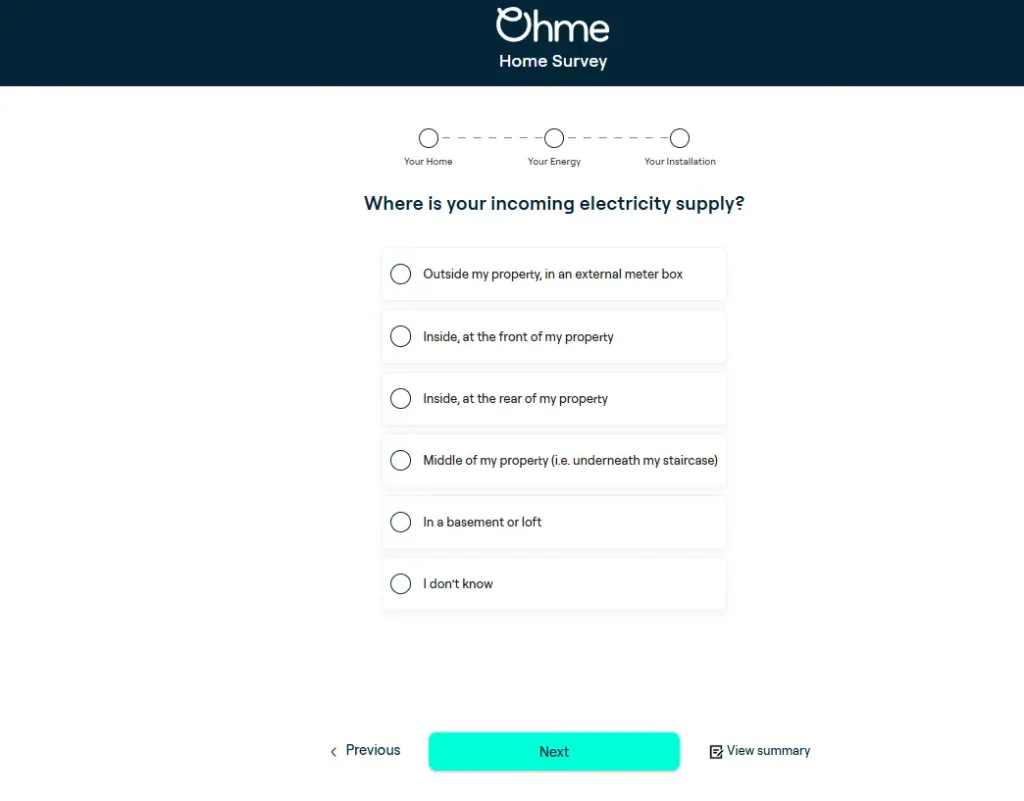
Where is your incoming electricity supply?
Pick the option that matches where your supply comes into the property, outside in an external meter box, inside at the front or rear, in the middle of the house, in a basement or loft, or “I don’t know” if you’re not sure.
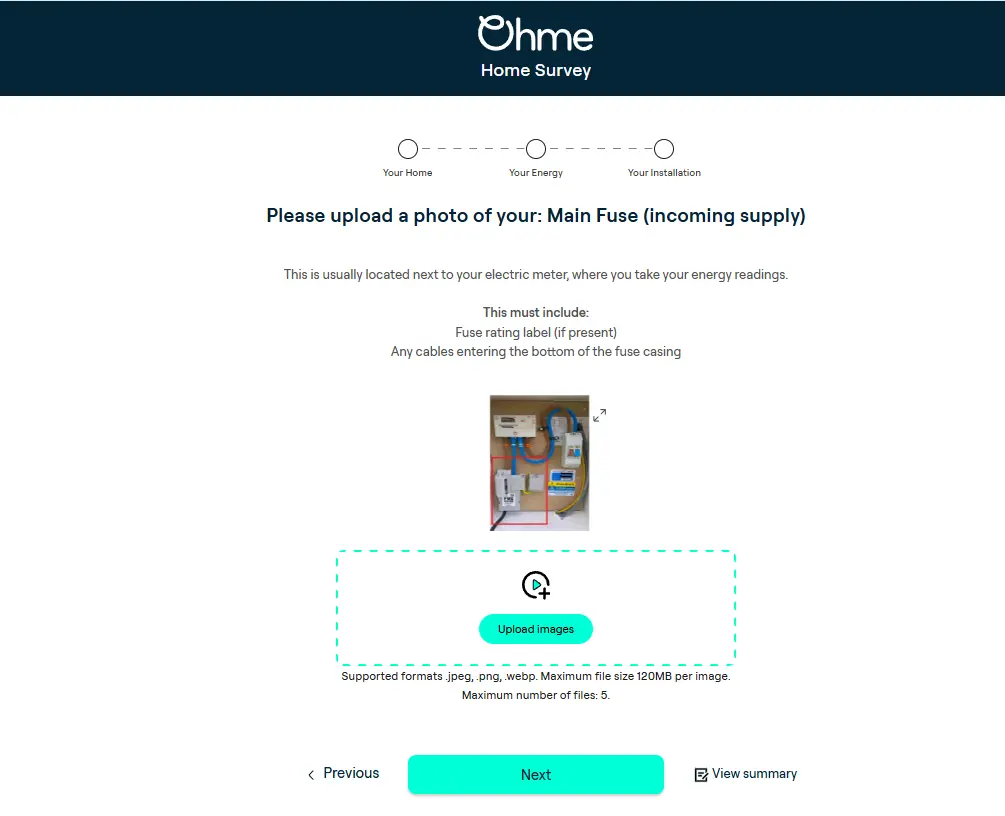
Upload a photo of your main fuse (incoming supply)
This is usually right next to your electric meter, where you’d take a meter reading. Make sure the fuse rating label is visible if there is one, along with any cables entering the bottom of the fuse casing.
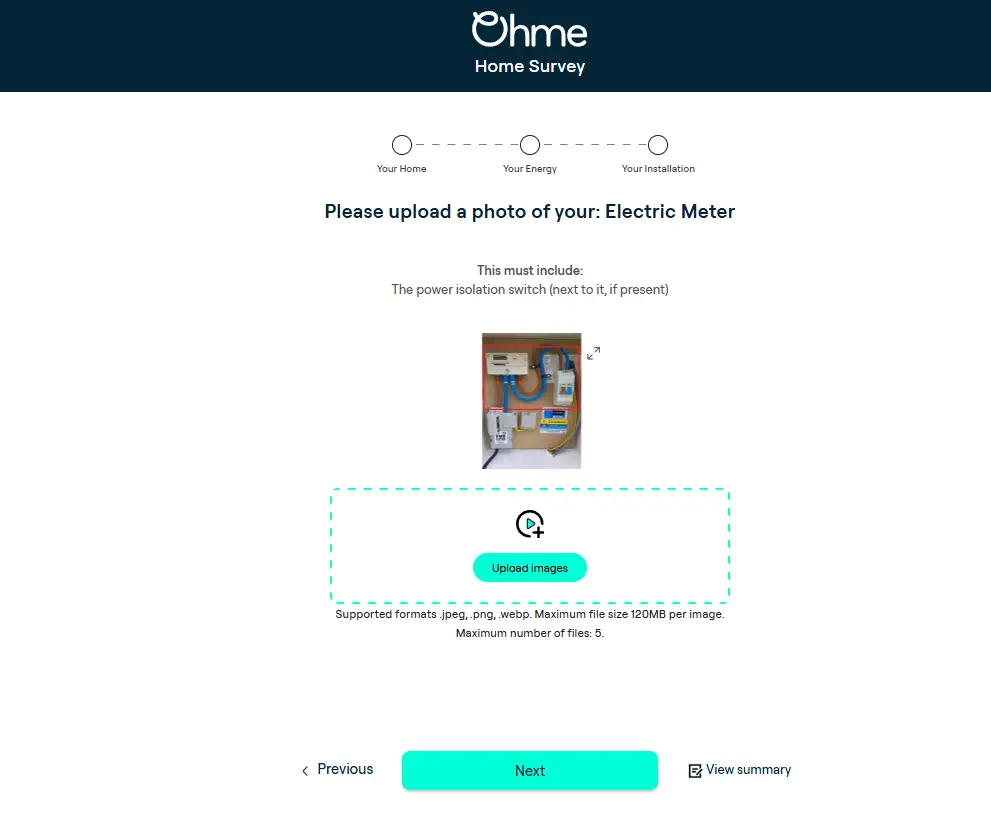
Upload a photo of your electric meter
Get the whole meter in shot, along with the power isolation switch next to it if you have one.
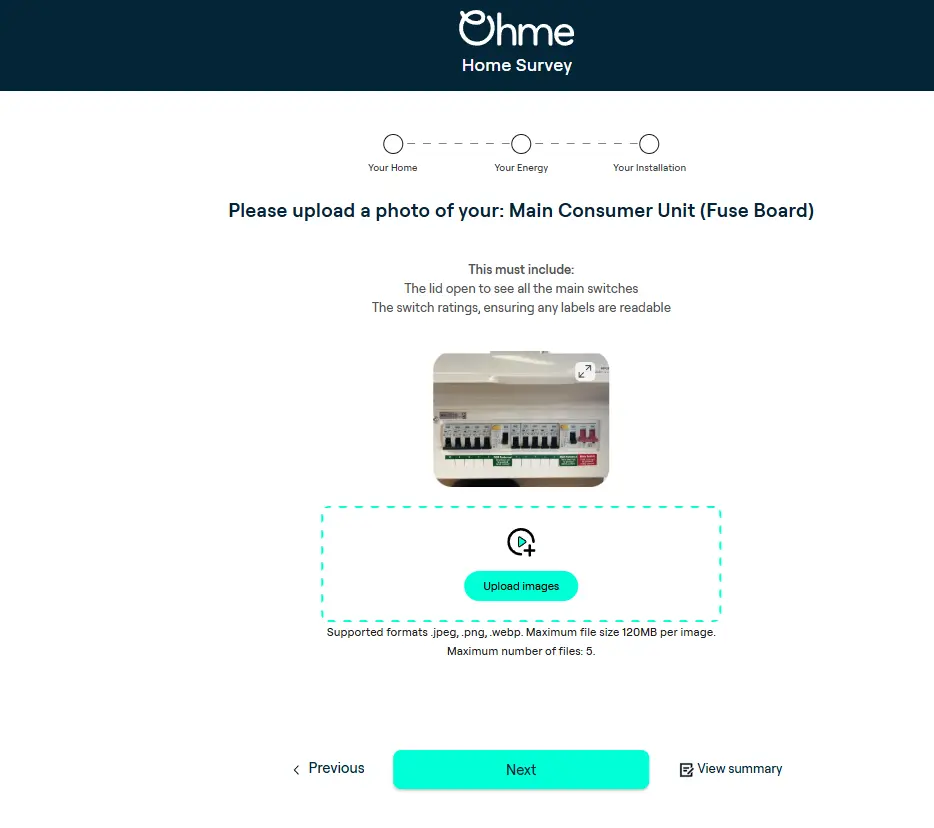
Upload a photo of your main consumer unit (fuse board)
Open the lid so all the main switches are visible, and make sure the switch rating labels are readable in the photo — our installers use these to size the job correctly.
Your Installation
The final stretch covers your MPAN, gas and water bonding, and exactly where you’d like the charger and cable to go.
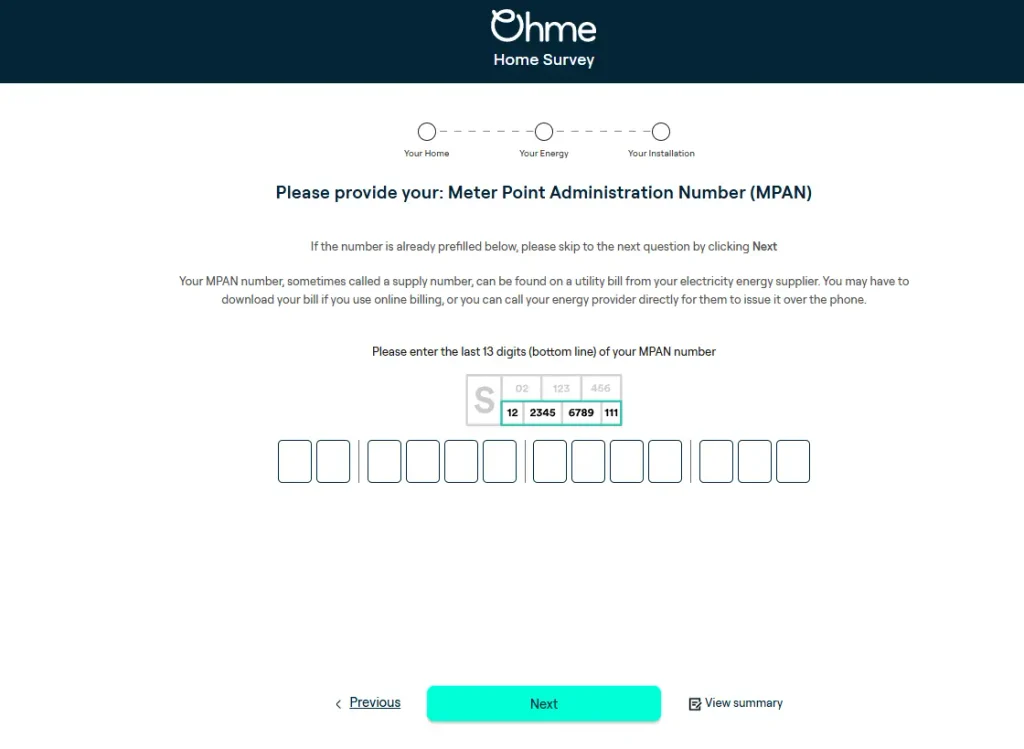
Provide your Meter Point Administration Number (MPAN)
If it’s already pre-filled, just hit Next. Otherwise, enter the last 13 digits (the bottom line) of your MPAN, you’ll find this on a recent energy bill or you can contact your Energy supplier to request it.
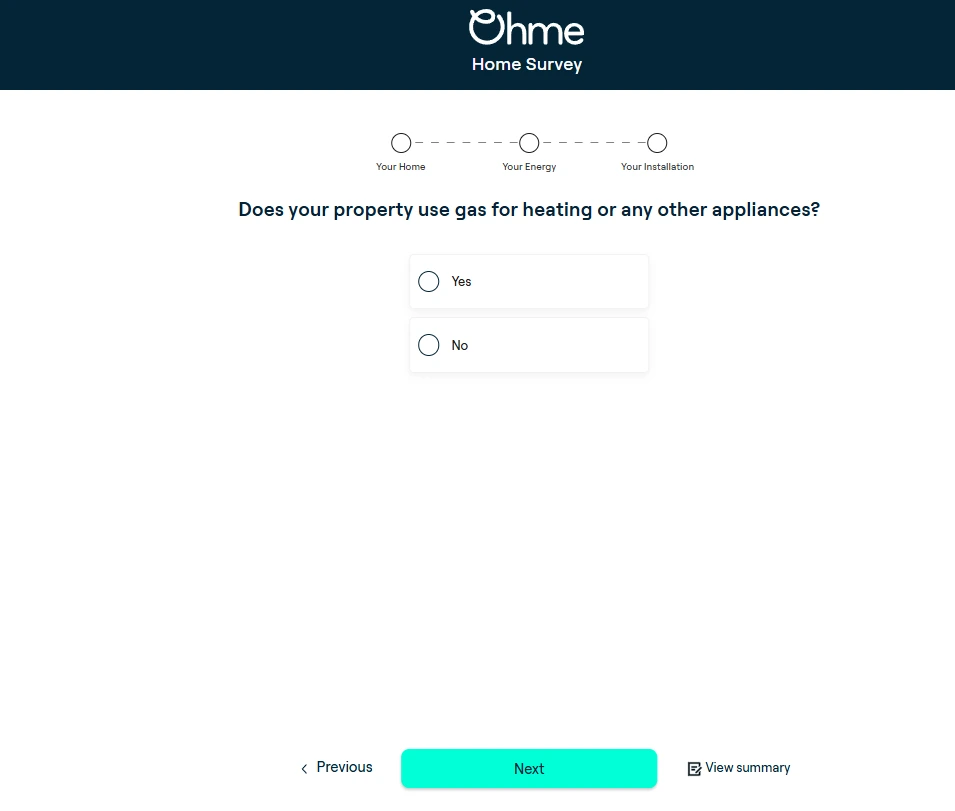
Does your property use gas for heating or any other appliances?
A simple yes or no. If you answer yes, you’ll be asked for a photo of your gas bonding next.
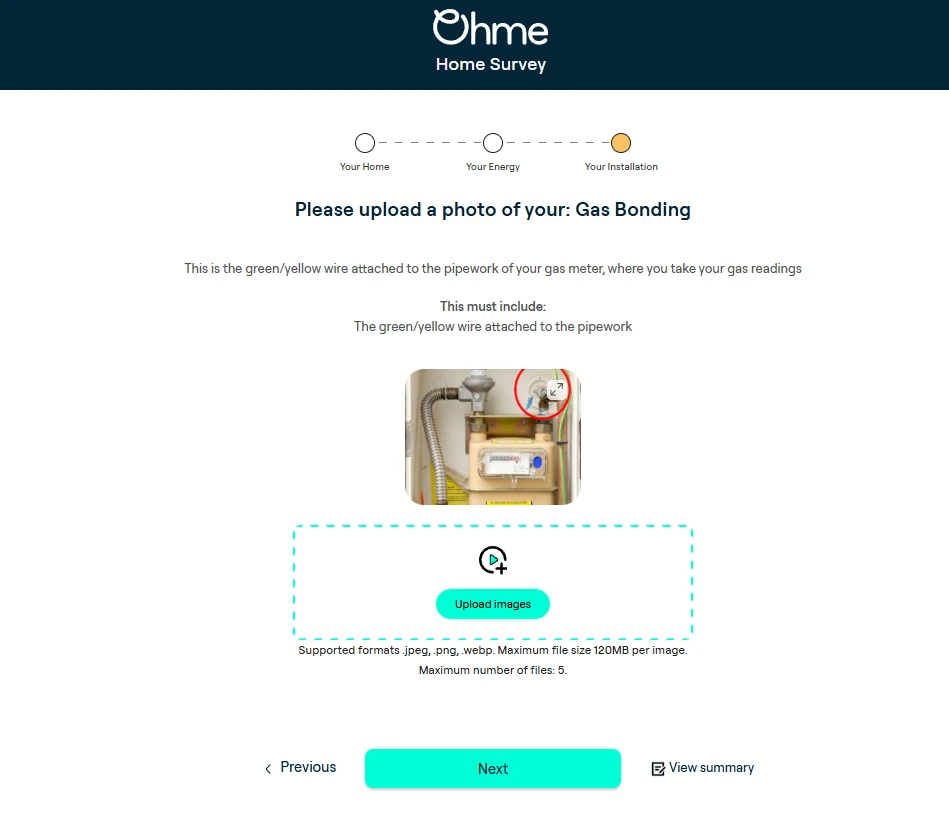
Upload a photo of your gas bonding
This is the green/yellow earth wire attached to the pipework near your gas meter, close to where you’d take a gas reading. Get the wire and its connection to the pipe clearly in shot.
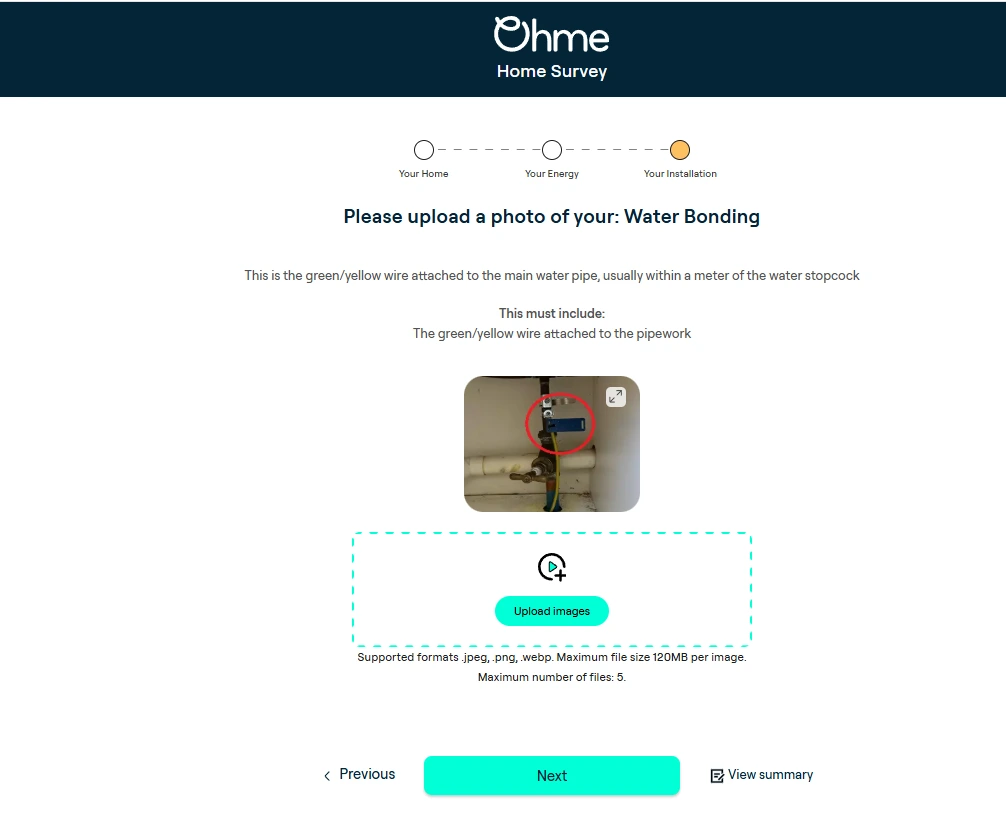
Upload a photo of your water bonding
Same idea, for your water supply, the green/yellow wire attached to the main water pipe, usually within a metre of the stopcock.
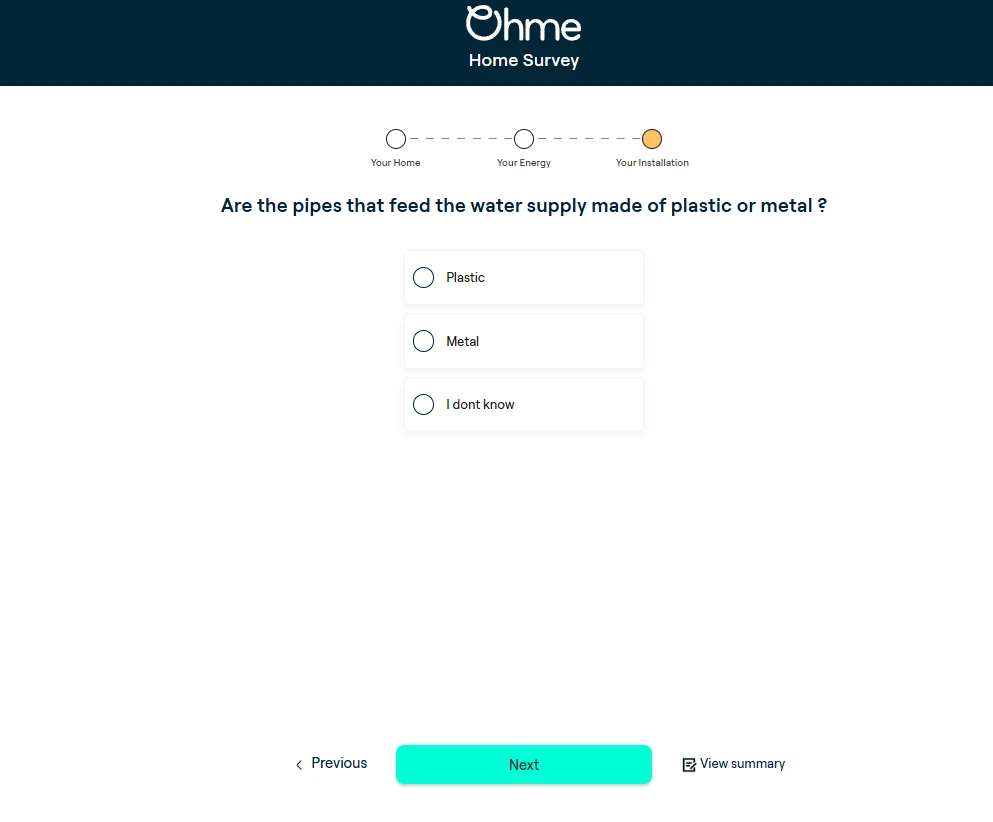
Choose plastic, metal, or “I don’t know”, this affects the bonding work required.
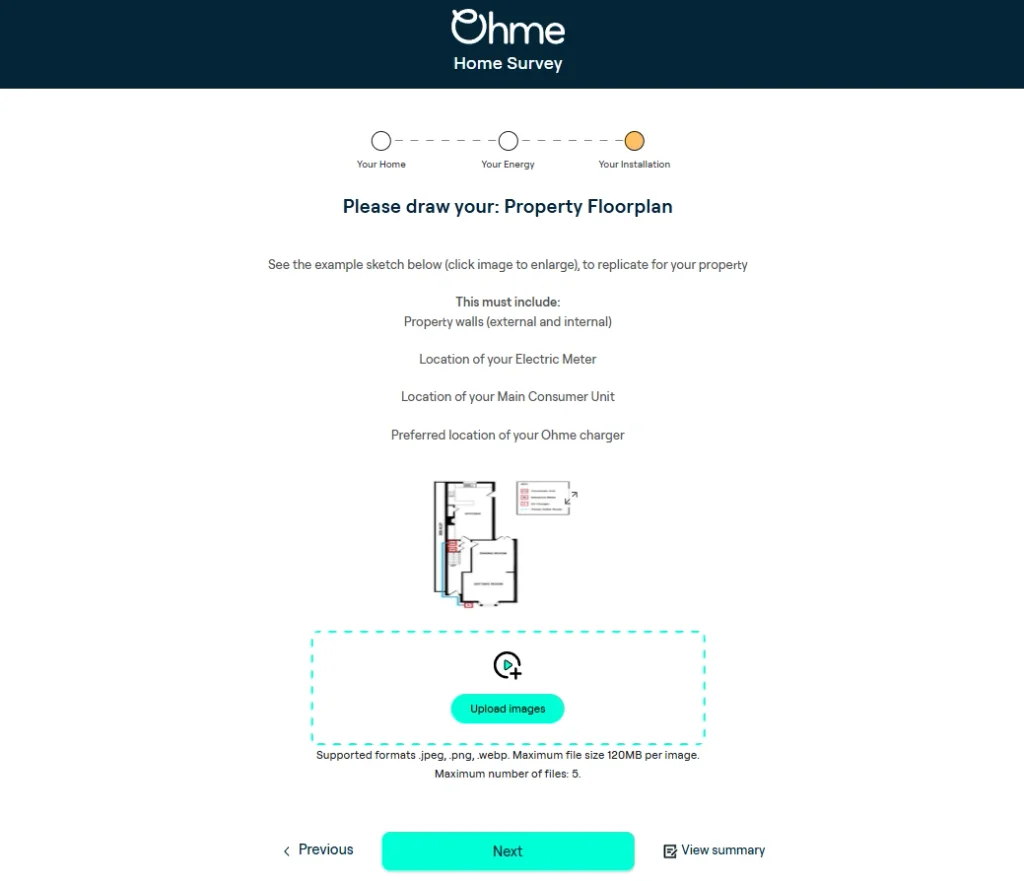
Draw your property floorplan
On-screen you’ll see a full example you can click to enlarge and use as a template. Your sketch should mark out your property walls (external and internal), the location of your electric meter, the location of your main consumer unit, and your preferred charger location, with the cable route drawn between them.
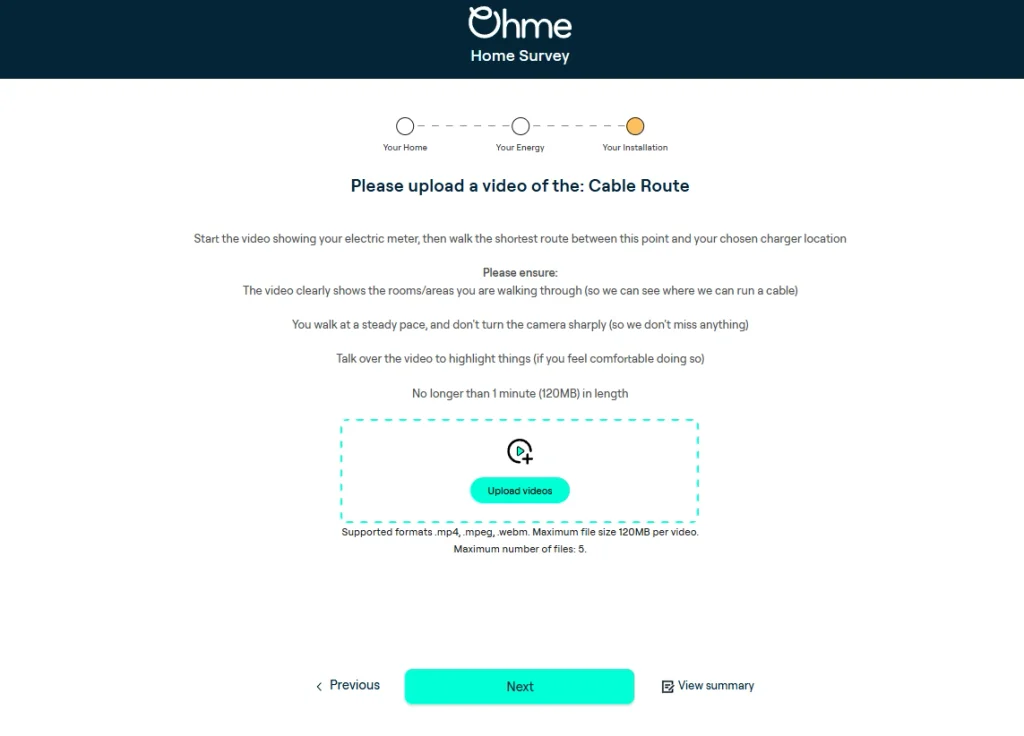
Upload a video of the cable route
Start with your electric meter in shot, then walk the shortest route to your chosen charger location. Keep the camera steady and at a walking pace, show the rooms or areas you pass through, and feel free to talk over the video to point things out. Keep it under a minute.
What happens next
Once you’ve submitted your final answer, your home survey is complete. Our installation team will review the information you’ve provided and progress your installation. If any photos or videos need to be retaken, we’ll contact you.
Can you do it for me?
Our online home survey takes on average around 20 minutes to complete. If you don’t have the time, or you’re unable to complete the survey yourself, you can choose to add our in-home survey to your order. One of our expert installers will pop round to gather all of the information needed to help plan your installation, so you don’t have to. Contact our Home Charging Team for pricing and next steps.
Thanks for your feedback!