United Kingdom

United Kingdom

Help centre

How do I install an Ohme ePod?

The installation must be compliant with the IET Wiring Regulations and the IET Code of Practice for Electric Vehicle Charging Equipment. Installation should be carried out by a competent electrician with appropriate knowledge of EV charge point installations.

Ohme ePod installation wall template

Step 1

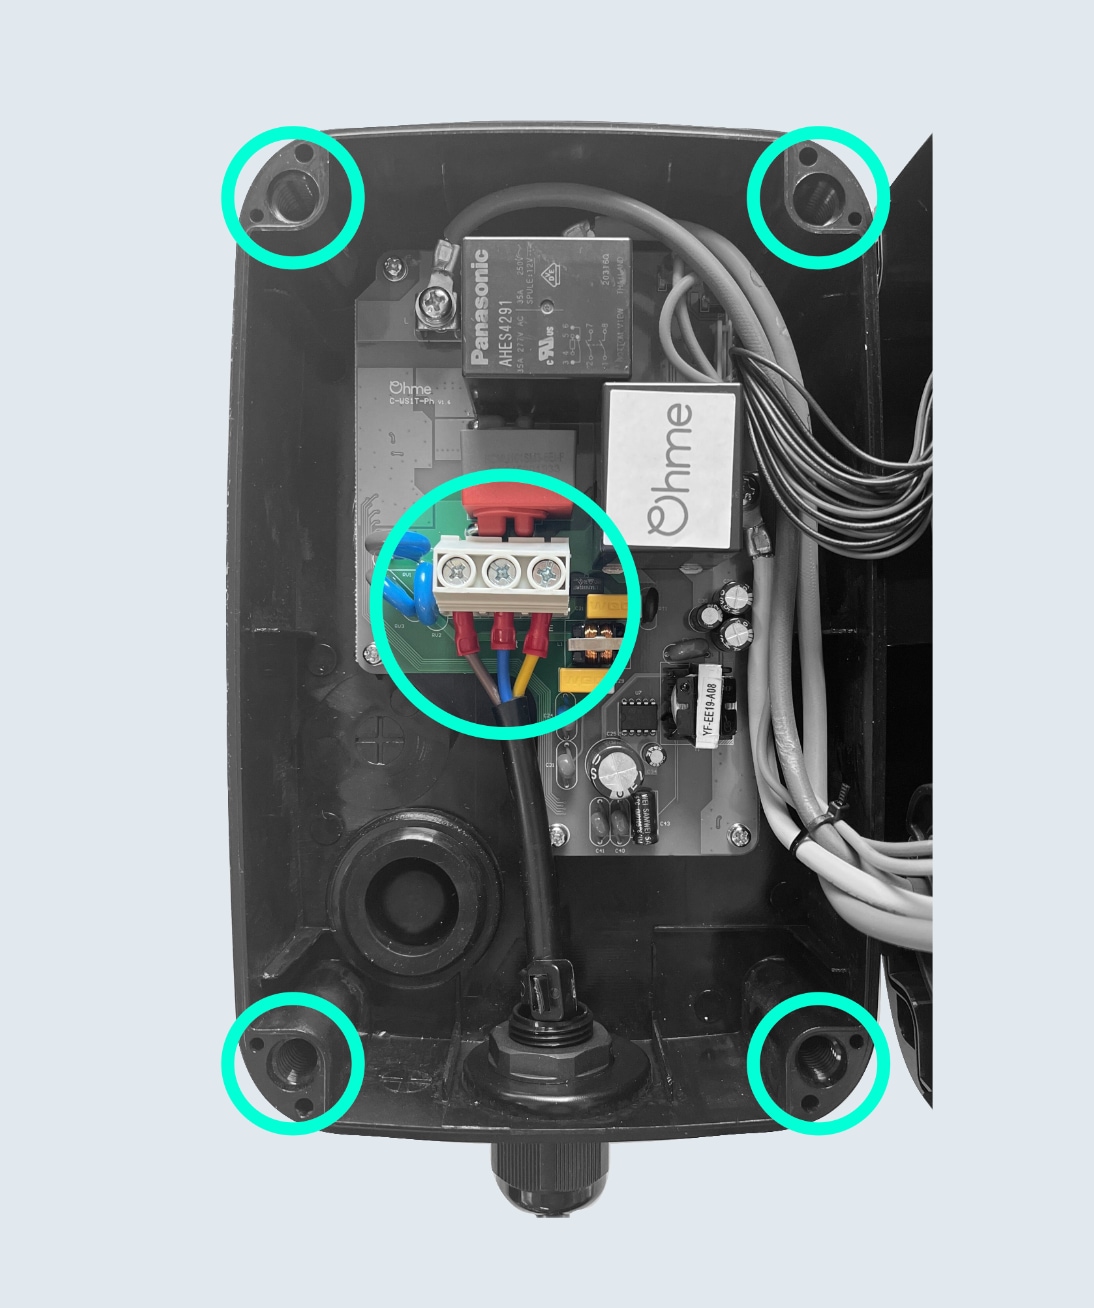
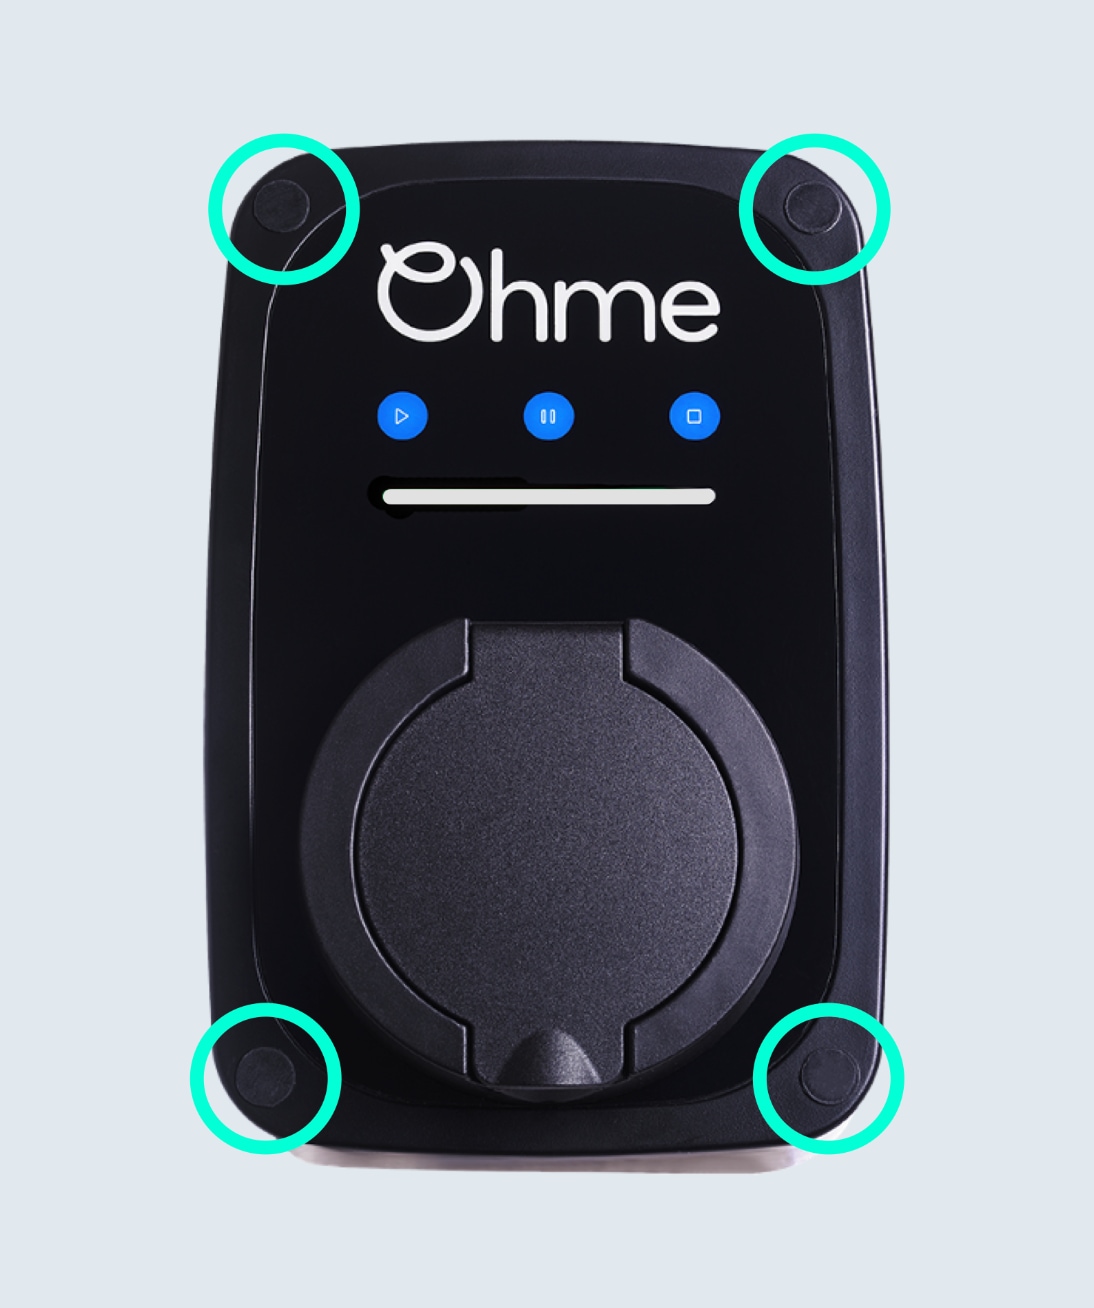
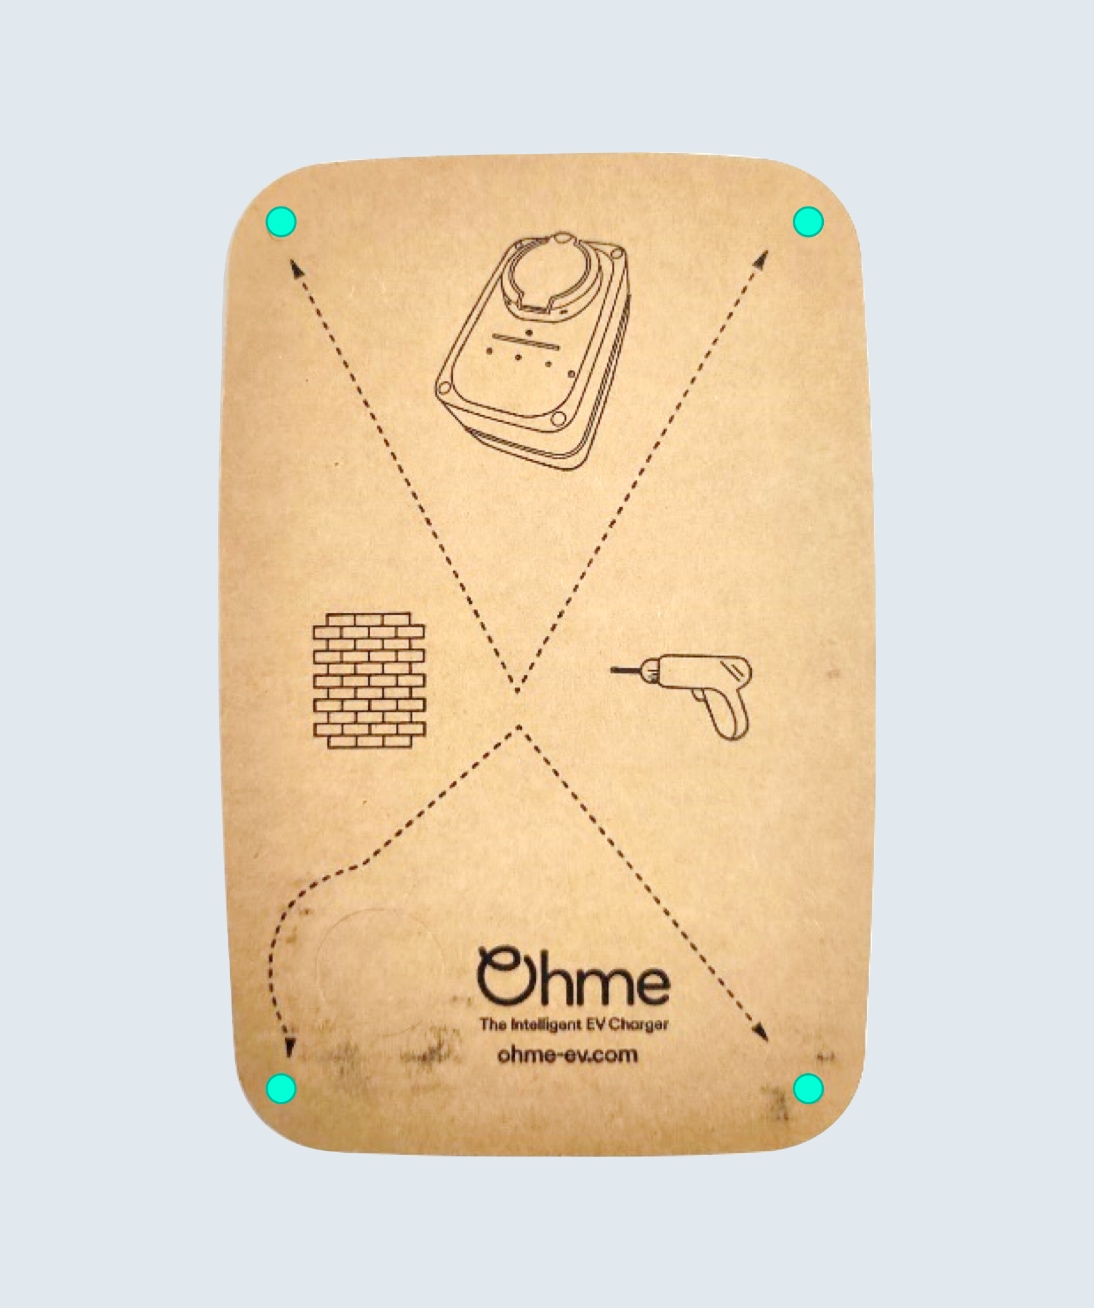
Using the drill template provided in the box, drill holes using a 7mm drill bit. Remove the front cover of the Ohme ePod and mount the back piece onto the wall using the screws provided.

Ohme ePod installation live neutral and earth wires

Step 2

You can feed the input cable either through the gland in the back or underside of the Ohme ePod. Once you’ve done so, connect the Live, Neutral, and Earth wires.

Ohme ePod installation data cable connection

Step 3

The Ohme ePod has a dynamic load balancing feature. A current sensor (CT) clamp is provided to measure the electrical demand of the property, or sub-board. The unit will limit the maximum current available to the vehicle to keep the household demand below the set threshold or fuse value. Secure the wires of the data cables in the spring loaded Wago located on the front of the unit.

If you’re using a separate data cable and have already used the underside hole for the main cable, use the back hole to feed the cable into the unit.

Note: you’ll require a second gland (M12 or M16) to maintain a weatherproof seal.

Ohme ePod installation reattach front cover

Step 4

Reattach the front cover and install the screw caps provided with the Ohme ePod.

Installation complete

Now that you’ve successfully installed the Ohme ePod, check out the following article for how to commission an Ohme charger.

Need more help?

Message us

One of our experts will get back to you as soon as possible.

Call us

9:00am to 6:00pm • Monday to Thursday
9:00am to 5:00pm • Friday
Closed on public holidays

+44 20 3375 1586